Part III: GraphQL APIs
Now that you’ve created the data models, you can use Hasura’s GraphQL to query your data directly.
The “data” microservice
Every Hasura project comes with a data microservice. The data microservice provides a GraphQL API and an HTTP JSON API
over PostgreSQL, an extremely versatile open source relational database. We create tables in Postgres and access the
data using the APIs provided by the data microservice.
Any user with the admin role has full-access to the data microservice. All GraphQL requests to the data microservice
are POST requests to the /v1alpha1/graphql endpoint.
Explore using the API explorer & the query builder
Run:
# Run this command inside your project directory
$ hasura api-console
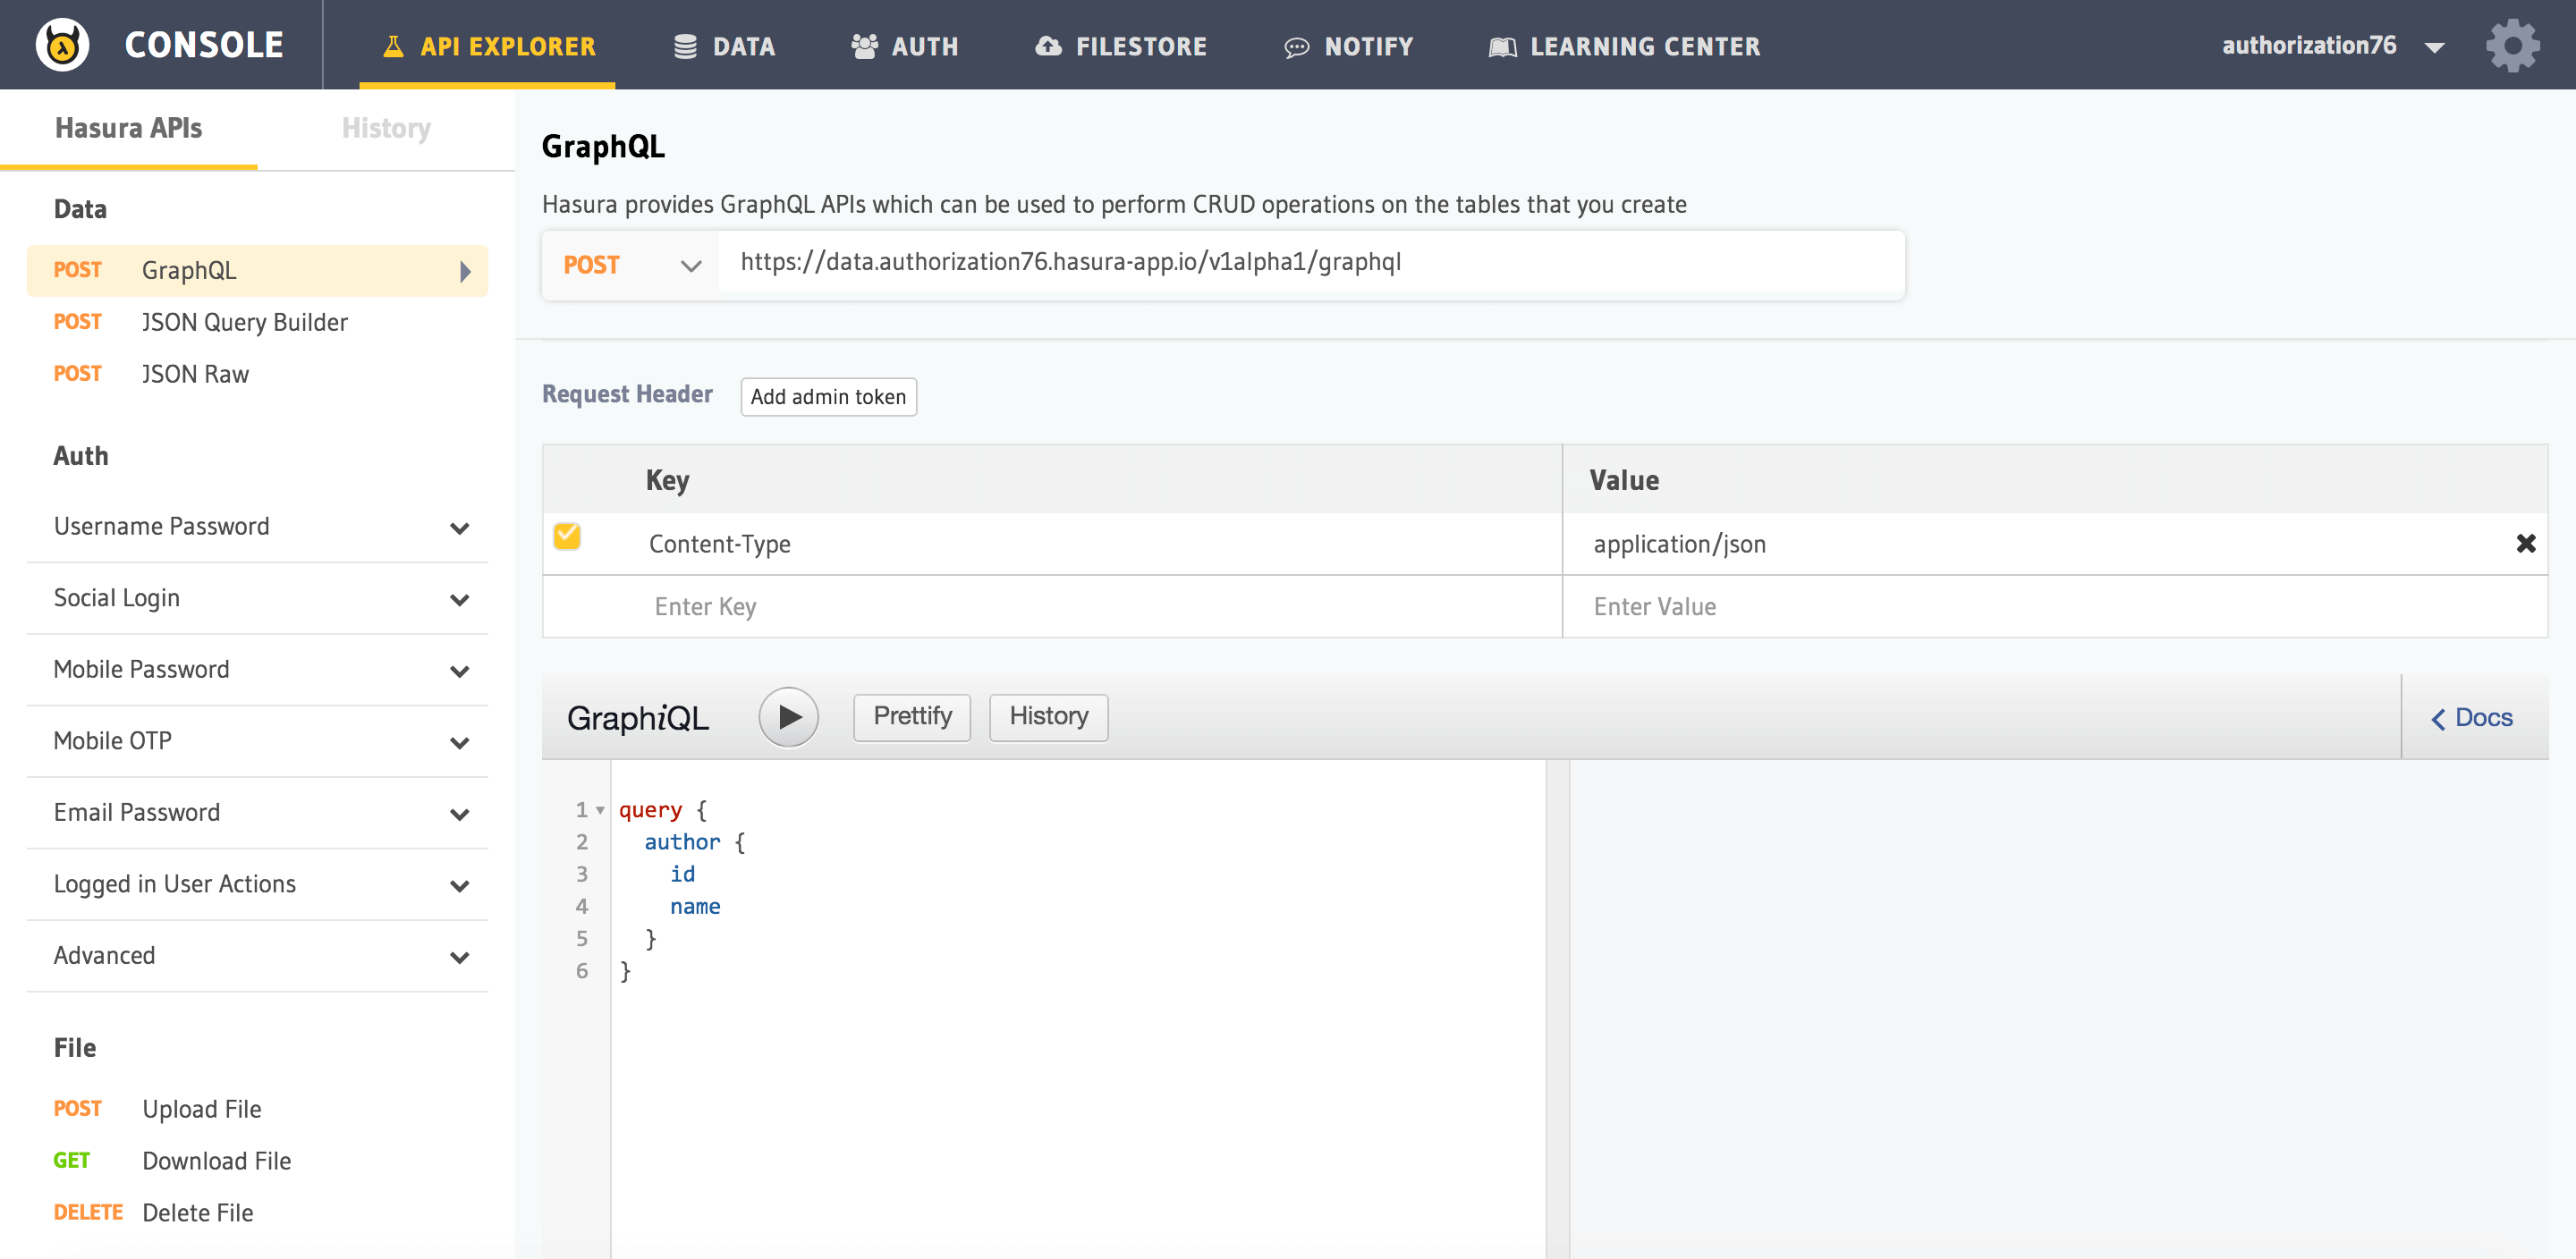
This will open up the API console and show you the API explorer page which you can use to understand the APIs
provided by the data microservice.

Note
You can try out all of the API examples below in the API explorer.
Head to API explorer > Data > GraphQL for GraphQL APIs or head to API explorer > Data > JSON Query Builder
for JSON APIs
Inserting data
Let’s insert a couple of authors. The full definition of an insert request can be found here.
mutation insert_author {
   insert_author (objects: [{id: 100, name: "Warren"},{id: 101, name: "Greg"}]) {
     returning {
       id
     }
   }
}
Note the returning key. We would like to get back the id assigned for each inserted row.
Querying data
The query language lets you make simple, as well as complex queries.
Let’s look at a simple select query on the article table. The full definition of a select query can be found here
query fetch_article {
  article {
    id
    title
  }
}
This query returns the id and title rows from the article table.
In the above query, we can have a where clause to apply filters on the data. Boolean operators like $and, $or,
$not can be used in a where clause. See here for a full list of supported Boolean operators.
query fetch_article {
    article (where: {_and: [{rating: {_gte: 2} author_id: {_eq: 6} }] } ) {
      id
      title
      author_id
    }
}
order_by is used to sort the results by a column. A prefix of + or - indicates ascending or descending order
respectively. limit and offset are used to slice the result set.
Example,
query fetch_article {
  article (limit: 10, order_by: ["+author_id"]) {
    id
    title
    author_id
  }
}
Updating data
The request to update data consists of two parts - the new values and a where indicating what to update. The syntax
of the where clause is same as the one in the select query. For the full syntax of an update request, see here.
mutation update_article {
  update_article(where: {id: {_eq: 4}} _set: {title: "Mystery affair at Styles"}) {
    affected_rows
  }
}
Delete data
The request to delete data takes a where clause indicating what to delete. The syntax of the where clause is the same as the one in
the select query. For the full syntax of a delete request, see here.
mutation delete_article {
  delete_article(where: {rating: {_lte: 1}}) {
    affected_rows
  }
}
Next: Add relationships to data
Next, let’s head to Part IV: Add relationships.