- Hasura Platform
- Getting started
- Installing the Hasura CLI
- The complete tutorial
- Part I: Create a Hasura project
- Part II: Create a Hasura cluster
- Part III: Explore the Hasura cluster
- Part IV: Build a blog app engine
- Part V: Users, roles and sessions
- Part VI: Data modelling for the blog app
- Part VII: Explore the data APIs
- Part VIII: Adding relationships to data models
- Part IX: Permissions & access control on data models
- Part X: Aggregations, views and custom relationships
- Part XI: Custom code and microservices
- Part XII: Using the Auth UI Kit
- GraphQL tutorial
- Hasura project
- Hasura cluster
- Project microservices
- API Console
- Auth
- Data (GraphQL/JSON APIs)
- Filestore
- Notify (Sending emails/SMS)
- Postgres
- API gateway
- Hasura Hub
- Hasura CLI reference
- Hasura API reference
- Guides
- Installing Hasura on a Kubernetes Cluster
- Hasura architecture
- Billing for Hasura
- Moving to v0.16 from v0.15
- Moving to v0.15 from older versions
Part XII: Using the Auth UI Kit
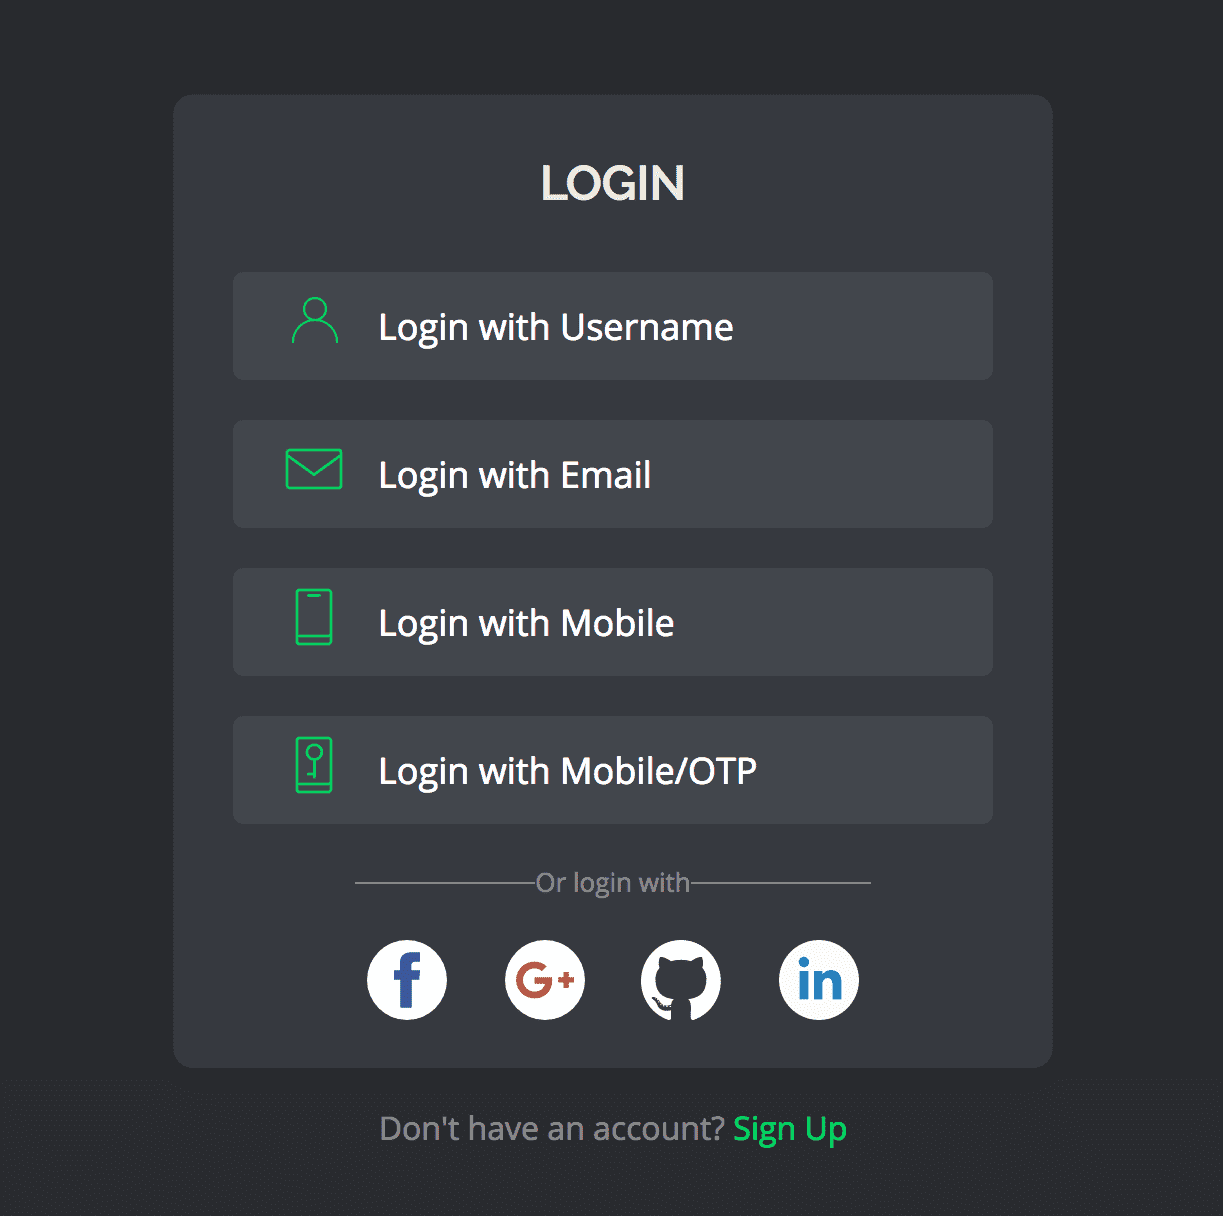
In the previous section, we deployed our own custom app. If you want to add authentication to your app and do not want to write auth code, you can use the Auth UI kit which is a ready to use frontend interface that comes pre-loaded with the Hasura auth microservice.
The UI kit runs on this url: auth.<cluster-name>.hasura-app.io/ui.
It allows your application users to login/signup seamlessly using the authentication providers
configured in the conf/auth.yaml file. The UI adapts automatically to display the enabled auth providers. Just
configure the auth conf of your Hasura Project and the UI Kit will immediatedly start working with the new changes.
By default, auth is configured to login using only Username Password. You can enable other auth providers by modifying
the conf/auth.yaml file. The below section will demonstrate how to enable auth with Email and Google. For
enabling other providers, read the instructions here.
Enable auth with email
Open the
conf/auth.yamlfile from the project directory. Enable email provider to by settingdefaultProviders > email > enabledto true.Run a
git pushtohasuraremote to apply these changes to the cluster.$ git add . $ git commit -m "Enabled email email provider" $ git push hasura masterYou will need an email service to programmatically send emails. You can either configure one of sparkpost and mandrill. You can start using the service by running the below commands from the project directory.
# Get your user-information
$ hasura user-info
# Copy the token from the output of above command and paste in the following
$ hasura secret update notify.hasura.token <token>
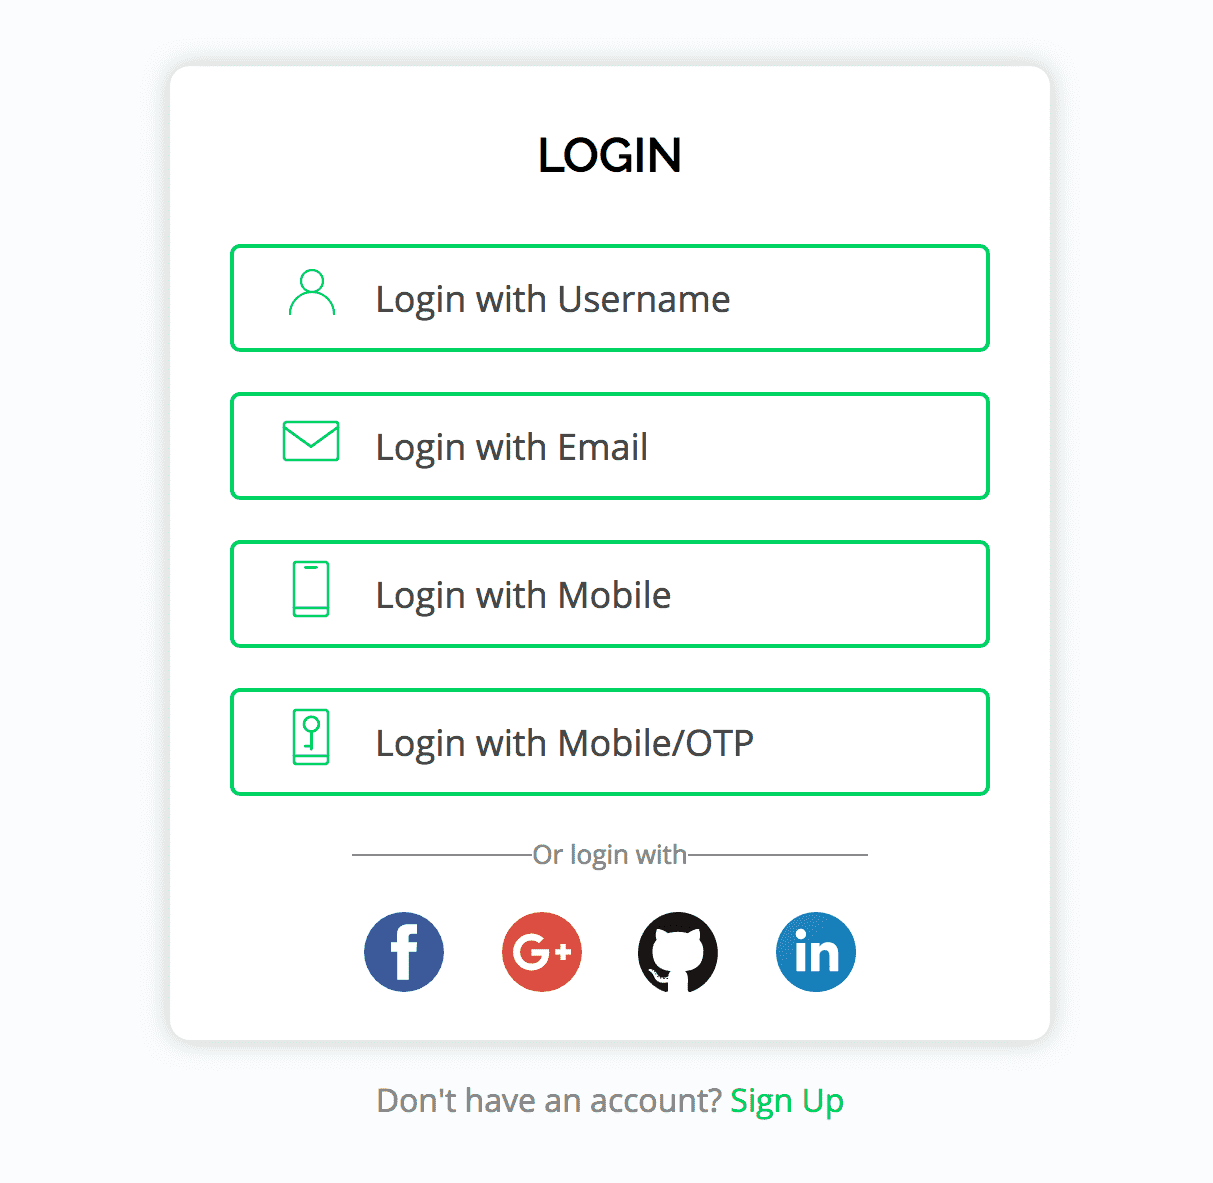
Navigate to
auth.<cluster-name>.hasura-app.io/uiand you will see theauth with emailenabled.
Enable auth with Google
Obtain your Google OAuth
client IDandclient secret.Open the
conf/auth.yamlfile from the project directory. Enable the Google provider by settingdefaultProviders > google > enabledto true.Find the
googlekey inconf/auth.yamland enter your client ID in theclientIdsarray there. (Thegooglekey might be commented)auth.yaml## For example if your client ID is "xxxxxx" google: clientIds: ["xxxxxx"] clientSecret: secretKeyRef: key: auth.google.client_secret name: hasura-secrets
Add the client secret to secrets by running the following command from your project directory.
$ hasura secret update auth.google.client_secret <client-secret>
Finally run a
git pushto thehasuraremote to apply these configuration changes to your cluster.$ git add . $ git commit -m "Enabled Google Provider" $ git push hasura masterNavigate to
auth.<cluster-name>.hasura-app.io/uiand you will see theauth with Googleenabled.
